Panel Test

Since we now have a new CNC, we can now professionally mill and engrave the Mustang’s panels.

But of course we have to do some testruns to see how it works, and what settings to use.

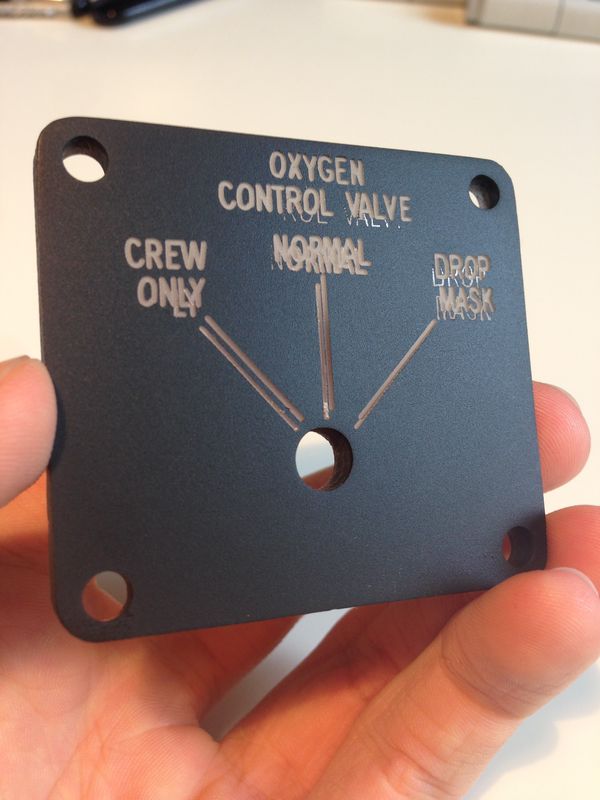
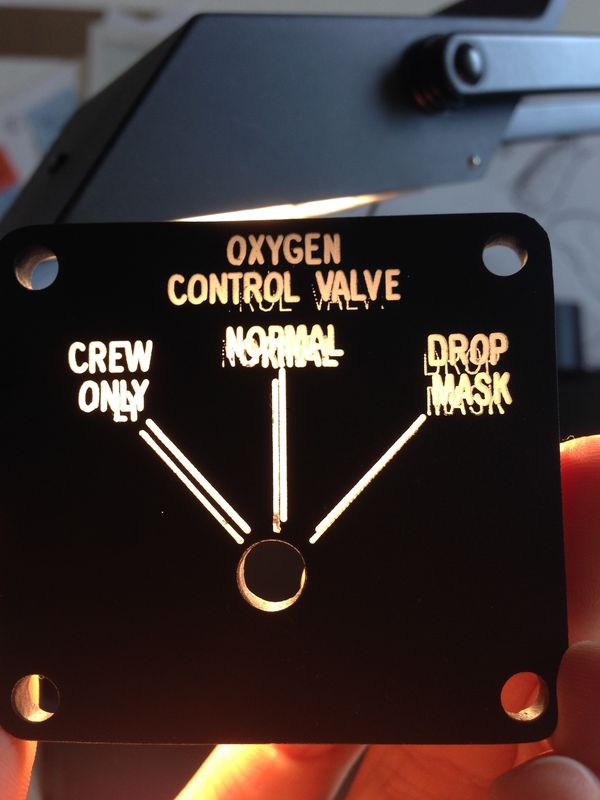
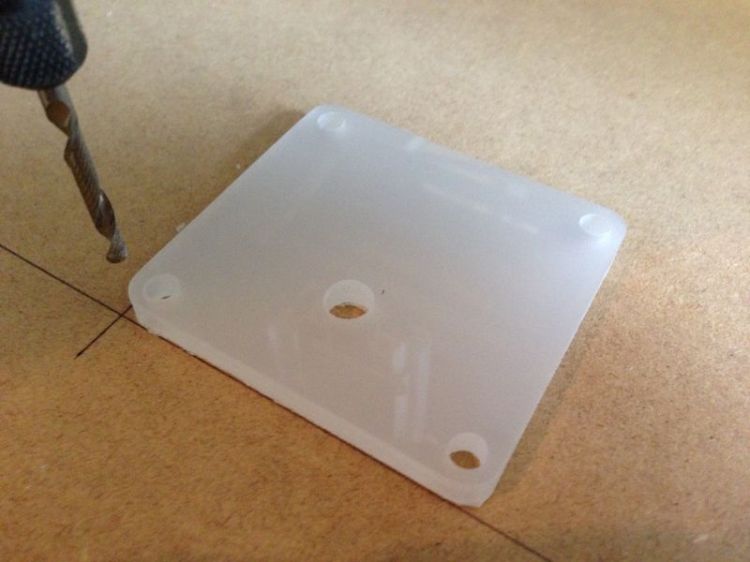
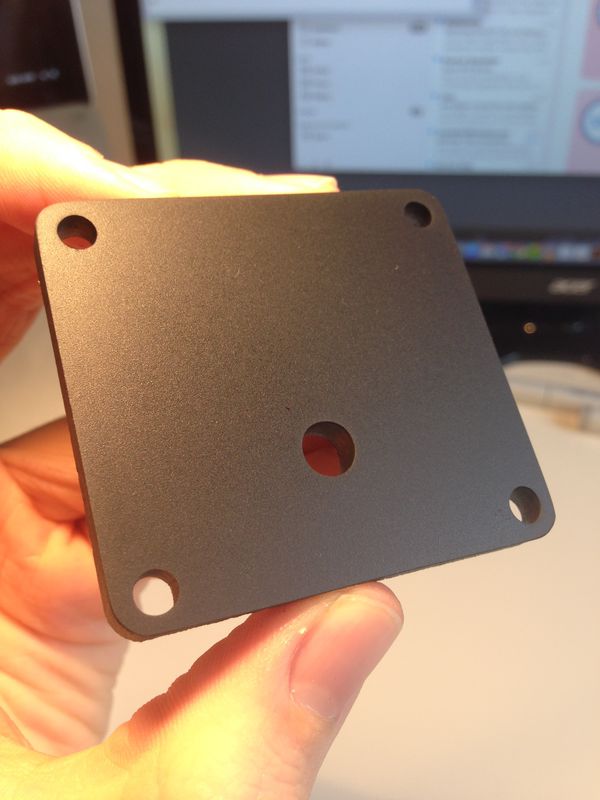
The following pictures show a testrun with the “oxygen control valve”-panel.

Obviously the engraving did not work perfectly, which is mainly caused by the wrong milling bit. I just ordered new bits so the next test should run smoothly.

But on the other hand, the look of the panel is amazing, just look at the surface. It looks and feels amazing. And also the backlighting works as expected (if only the engraving was better… 😉 )
 

New Hardware

O the joy! New hardware arrived this month! And by this I mean a powerful PC which will run the software, the monitors and the hardware (buttons, switches and other in- and outputs). Bits of configuration are still needed.

The next big new hardware thingy will be explained in my next post, so keep seated! 😉

Encoder Testing

This weekend I tried to get an encoder to work properly. Luckily after a few attempts and some blind guessing I succeeded.

I’m using an additional card connected to the SIOC Mastercard that reads the encoder’s inputs.

I programmed this particular encoder to set the Heading value. You can see the encoder in action in the video below. The heading bug is following the inputs nicely.

I’m just holding the encoder weirdly because I’m filming with my other hand…obviously 😉

::

It has begun…

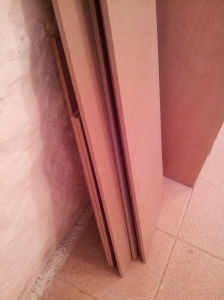
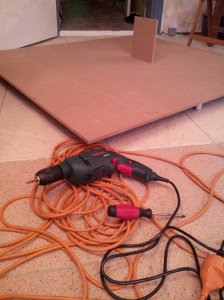
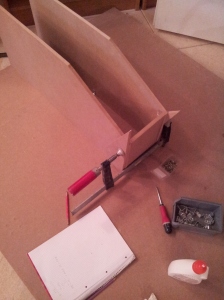
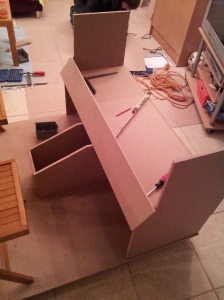
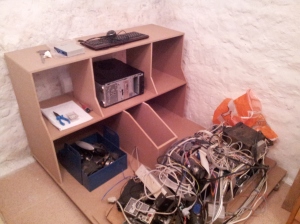
Last week we startet assembling the base structure. It is made from our material of choice: MDF

IMG_20130401_165337

IMG_20130401_165348

First things first: Adding wheels to the base plate for easy relocation.

IMG_20130401_174142

Assembling the center console.

IMG_20130401_200331

Adding stuff…

IMG_20130401_204550

Base structure almost finished. We will add the front plates later on because those need to be removable.